How to Install a Rear Dash Cam in Your Car | 7 Easy Steps for Safer Driving

Our editorial team individually chooses every product that is suggested on obonappetite. We might get paid if you buy something after clicking on any of these links.
Installing a rear dash cam in your vehicle is an excellent way to enhance security and capture crucial footage during your drives. Whether for peace of mind or evidence in case of an accident, understanding how to install a dash cam is essential. This guide will walk you through the process, from understanding dash cams to the actual installation.
- Understanding the Dash Cam
- Our Top Picks on front and rear dash cam
- Benefits of Front and Rear Dash Cams
- Types of Rear Dash Cameras
- Our Top Picks on Dual Channel
- Preparation for Installation
- Gathering Necessary Tools and Materials
- Understanding Your Vehicle’s Wiring
- Installing the Rear Dash Cam
- Routing the Cable to the Front
- Connecting the Dash Cam to Power
- Your Questions, Answered
Understanding the Dash Cam
What is a Dash Camera?
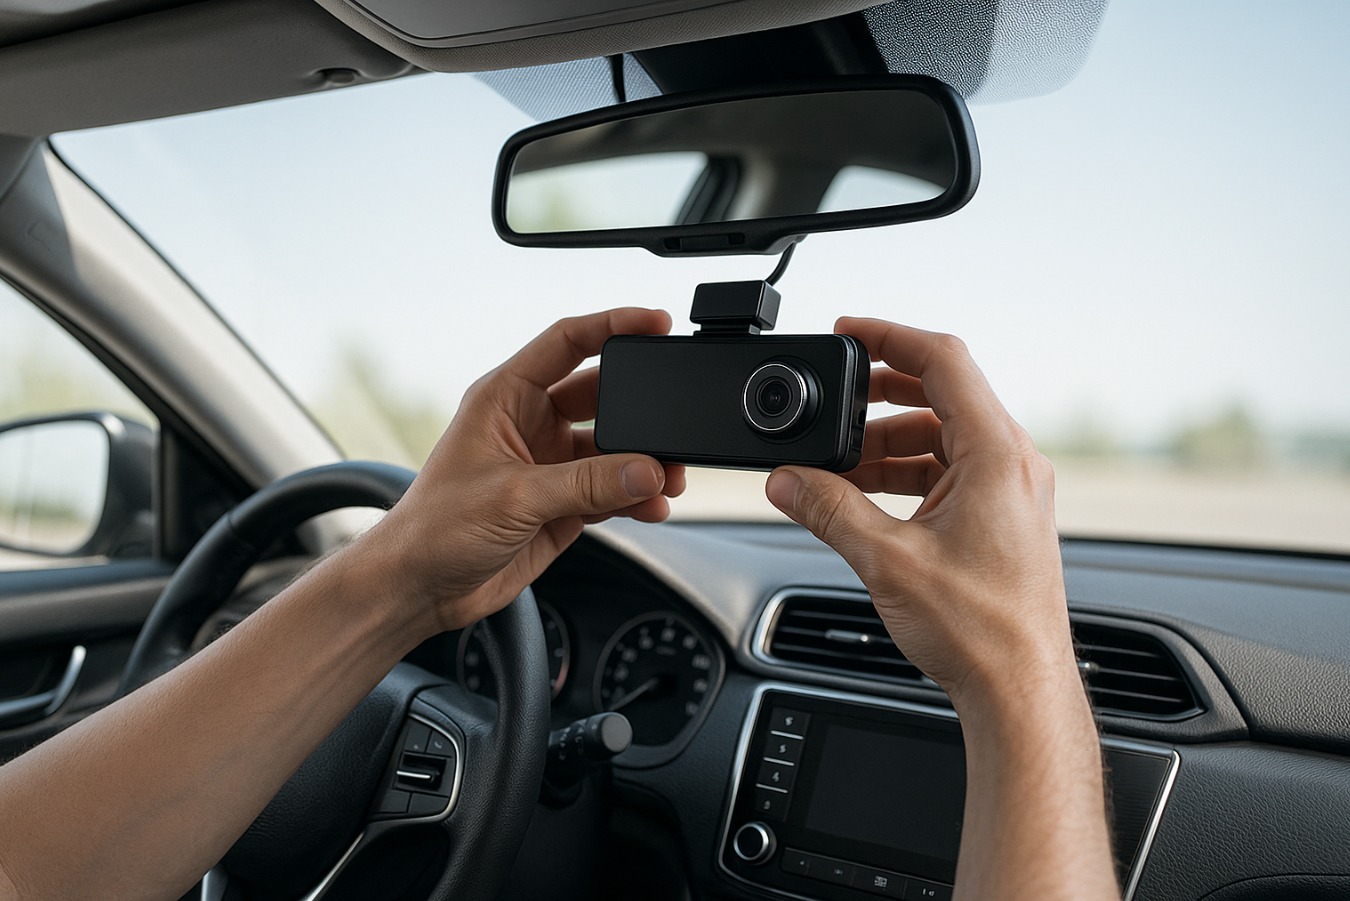
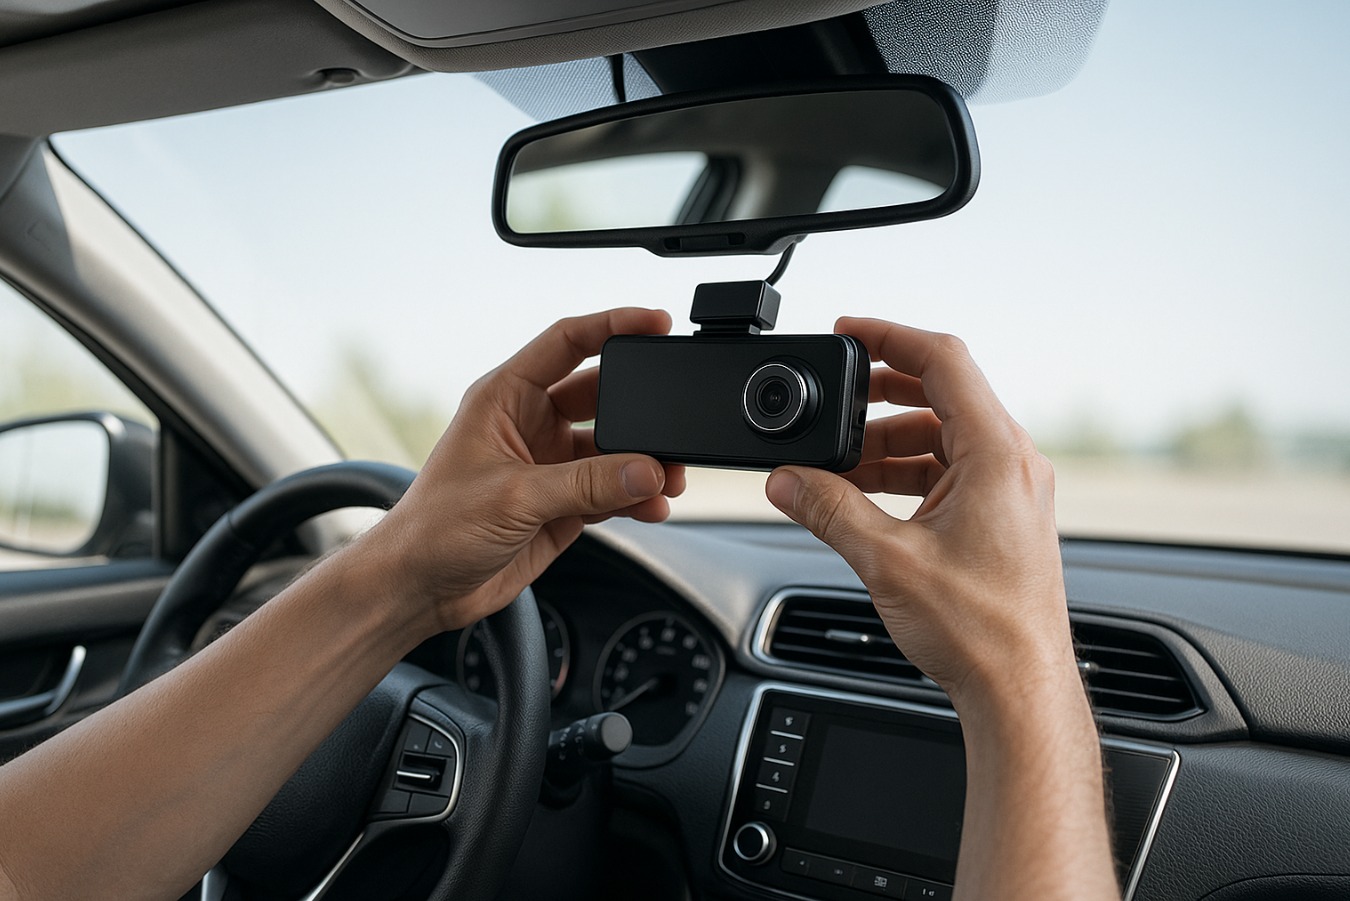
A dash camera, often referred to as a dash cam, is a small recording device mounted on the windshield or rear window of a vehicle. It continuously records the view through a vehicle’s front and rear windows. Equipped with wide-angle lenses, these cameras capture comprehensive footage of your surroundings, proving invaluable in the event of an incident.
Benefits of Front and Rear Dash Cams
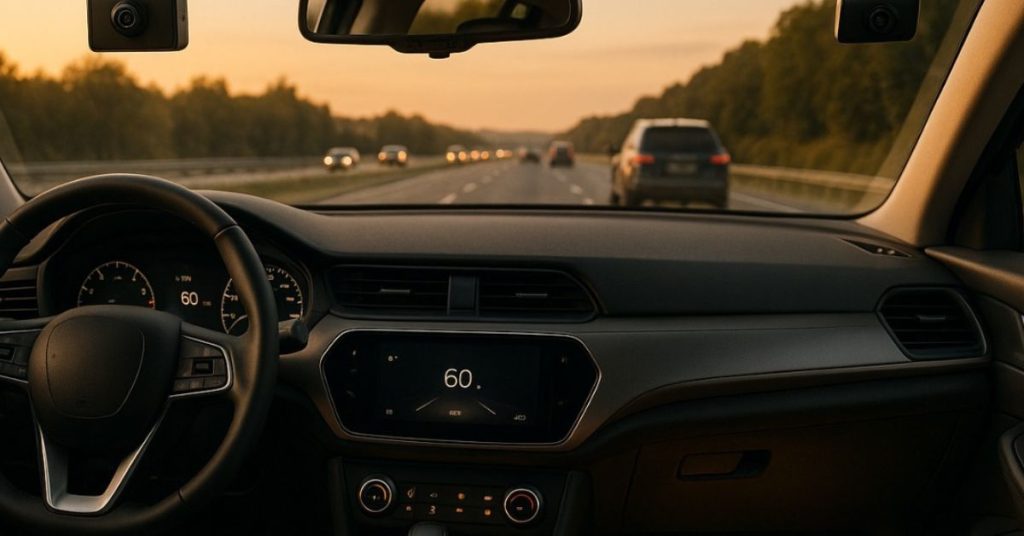
Installing both front and rear dash cams offers extensive coverage, eliminating blind spots and providing peace of mind. A rear dash cam records activities behind your vehicle, whether parked or in motion, making it an ideal addition for full coverage. Multi-channel dash cam systems are highly recommended for maximizing security and ensuring comprehensive documentation.

Types of Rear Dash Cameras
Rear dash cameras come in various shapes, such as wedge-shaped and cigar-shaped models. Wedge-shaped dash cams are preferred due to their discreet profile, allowing them to sit comfortably near the top of the rear window without obstructing the view. The choice of shape often depends on personal preference and the specific design of your vehicle’s rear windshield.
Preparation for Installation
Choosing the Right Rear Dash Cam
Selecting the appropriate rear dash cam for your vehicle is crucial. Consider your car’s design, especially if you drive a sedan, as the camera’s positioning affects its ability to capture vital details like license plates. In states requiring only a rear plate, a rear dash cam becomes essential to ensure you capture identifying details of other vehicles.
Gathering Necessary Tools and Materials
To install a rear dash camera, you’ll need several tools and materials. Essential items include:
Items | Purpose |
Rear dash camera, rear camera cable | Core components for installation |
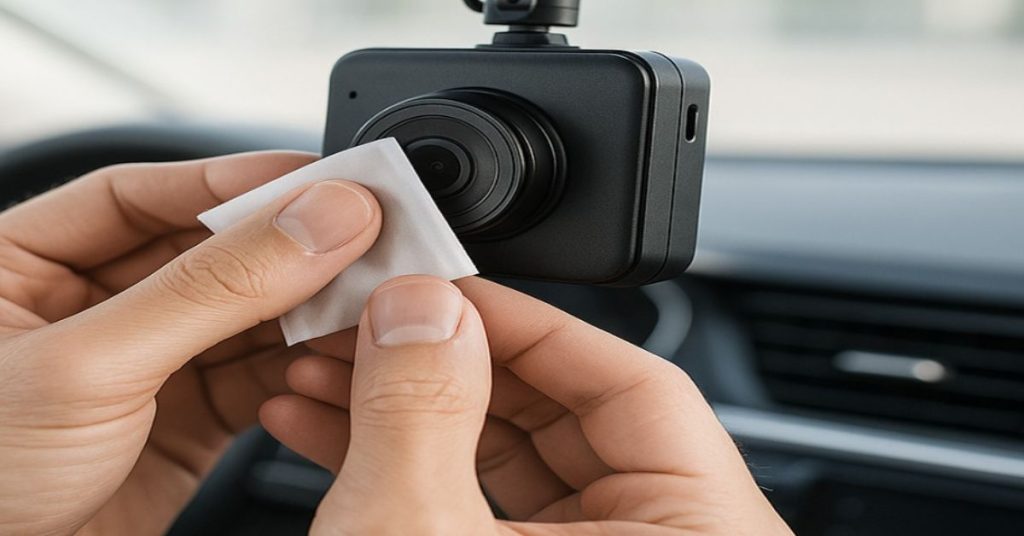
Adhesive mount, cable clips, microfibre towels, glass cleaners, trim tool | Supporting tools and materials for installation |
These tools help ensure a seamless installation process, whether you’re working with a hatchback or an SUV.
Understanding Your Vehicle's Wiring
Before proceeding with the installation, a good understanding of your vehicle’s wiring is necessary. Identifying the suitable fuse for the power connection is crucial, especially if you plan to hardwire the dash cam. Properly routing the camera cables through the headliner and around the airbags ensures a clean and safe setup, minimizing any potential interference with vehicle systems.
Installing the Rear Dash Cam

When mounting your rear dash cam, it is crucial to place it at the center of the rear windshield. This positioning ensures optimal coverage and avoids interference from the rear defroster grid lines. To properly install the camera, follow these steps:
- Use the adhesive mount included in the package, and ensure the camera remains stationary without excess slack, which could cause it to move.
- For an optimal view, check the live feed through the smartphone app to ensure the camera angle captures the rear view effectively.
If the center is obstructed, consider mounting the camera on either side of the vehicle. Here are some options for secure installation:
- Installing a platform on the headliner provides a solid base for the dash cam’s adhesive to adhere to.
- Using magnetic coin mounts or modified binder clips as alternative solutions.
Ensure the rear camera is slightly lower on the back window to prevent cable pressure at the connection point.
Routing the Cable to the Front
To connect the rear camera cable to the front dash cam, route the wire carefully along the headliner, navigating past the A, B, and C pillars, which are structural supports in your car. For hatchbacks and SUVs, the cable must pass through these pillars and reach the front of the vehicle. Thread the cable through hoses connecting to the liftgate, using a rigid wire or zip-tie if necessary to guide it through tighter spaces.
Secure the cable with electrical tape to protect the pins and pull it through, hiding it behind the trim. Ensure all plastic clips are aligned properly to avoid damage. Continue running the cable toward the front dash cam, securing it under the carpet or door seals as needed. Utilize zip ties or adhesive clips to prevent movement and rattling, maintaining a tidy and neat appearance.

Connecting the Dash Cam to Power
For power, route the cable along the windshield’s edge, securing it with cable clips or adhesive tape to keep it neat and unobtrusive. Plug the cable into the dash cam and connect the other end to the vehicle’s power socket, typically found in the cigarette lighter. For a more stable connection, consider using a small sticker to firmly attach the power cable to the socket.
If you opt for a hardwire kit, insert the fuse tap into the appropriate slots in the fuse box and connect the black ground wire to a clean, unpainted metal surface on your car’s body. Use a bolt or screw to ensure a secure connection.
Your Questions, Answered
What tools do I need to install a dash cam?
To install a dash cam, you typically need a flathead screwdriver, a Phillips screwdriver, an adhesive mount (if not included), and possibly wire management tools like zip ties or clips.
Can I install a dash cam myself, or should I hire a professional?
While many individuals can successfully install a dash cam themselves using our guide, those who are uncomfortable with wiring or installation may prefer to hire a professional for assistance.
How do I determine the best placement for my dash cam?
The optimal placement for a dash cam is usually behind the rearview mirror, ensuring it has an unobstructed view of the road while minimizing distractions to the driver.
Will installing a dash cam affect my vehicle's warranty?
In most cases, installing a dash cam will not void your vehicle’s warranty. However, it is advisable to check with your vehicle manufacturer for any specific guidelines regarding aftermarket accessories.
How do I connect the dash cam to power?
Most dash cams can be powered through the vehicle’s 12V power outlet using the supplied cable. Some models may also support hardwiring directly to the vehicle’s fuse box for a more permanent installation.
Related Post

How to Care for Zinnias | Keep Them Blooming All Season
Our editorial team individually chooses every product that is suggested on obonappetite. We might get paid if you buy something

Top Places to Visit in Bangladesh | A Guide to Hidden Gems & Icons
Our editorial team individually chooses every product that is suggested on obonappetite. We might get paid if you buy something

How to Germinate Flower Seeds | Step-by-Step for Strong, Healthy Sprouts
Our editorial team individually chooses every product that is suggested on obonappetite. We might get paid if you buy something


