How to Install a Dash Cam: Front and Rear Installation Guide

car dash cam

Installing a dash cam in your vehicle can significantly enhance both your driving experience and safety. By capturing high-quality footage of your journeys, dash cams provide invaluable evidence in the event of accidents, disputes, or insurance claims. This comprehensive guide will walk you through the essential steps to successfully install a front and rear dash cam, ensuring optimal performance and peace of mind on the road.

Understanding Dash Cams:

What is a Dash Cam?

A dash cam, or dashboard camera, is a small device mounted on your vehicle’s front windshield or rear window, designed to continuously record video footage of your surroundings as you drive. Dashcams are invaluable for documenting every journey, offering a reliable way to review routes or incidents. This constant surveillance provides not only security but also a convenient means to verify events, should the need arise.

Our Top Picks on solo dash cam

Rexing V1 FHD 1080p Dash Cam (Open Box)

Rexing V5 Bundle Dash Cam 3-Channel Premium 4K with Wi-Fi and GPS:

For better performance, the Rexing V5 can be equipped with other modules, such as two rearview and a cabin view camera module (included). You can use up to three channels to simultaneously see your front, back, and cabin. Just connect your dash cam to start shooting three-channel, 1080p recordings.

VIOFO A229 Plus Dash Cam Front and Rear, Dual STARVIS 2 Sensors

VIOFO A229 Plus Dash Cam Front and Rear, Dual STARVIS 2 Sensors:

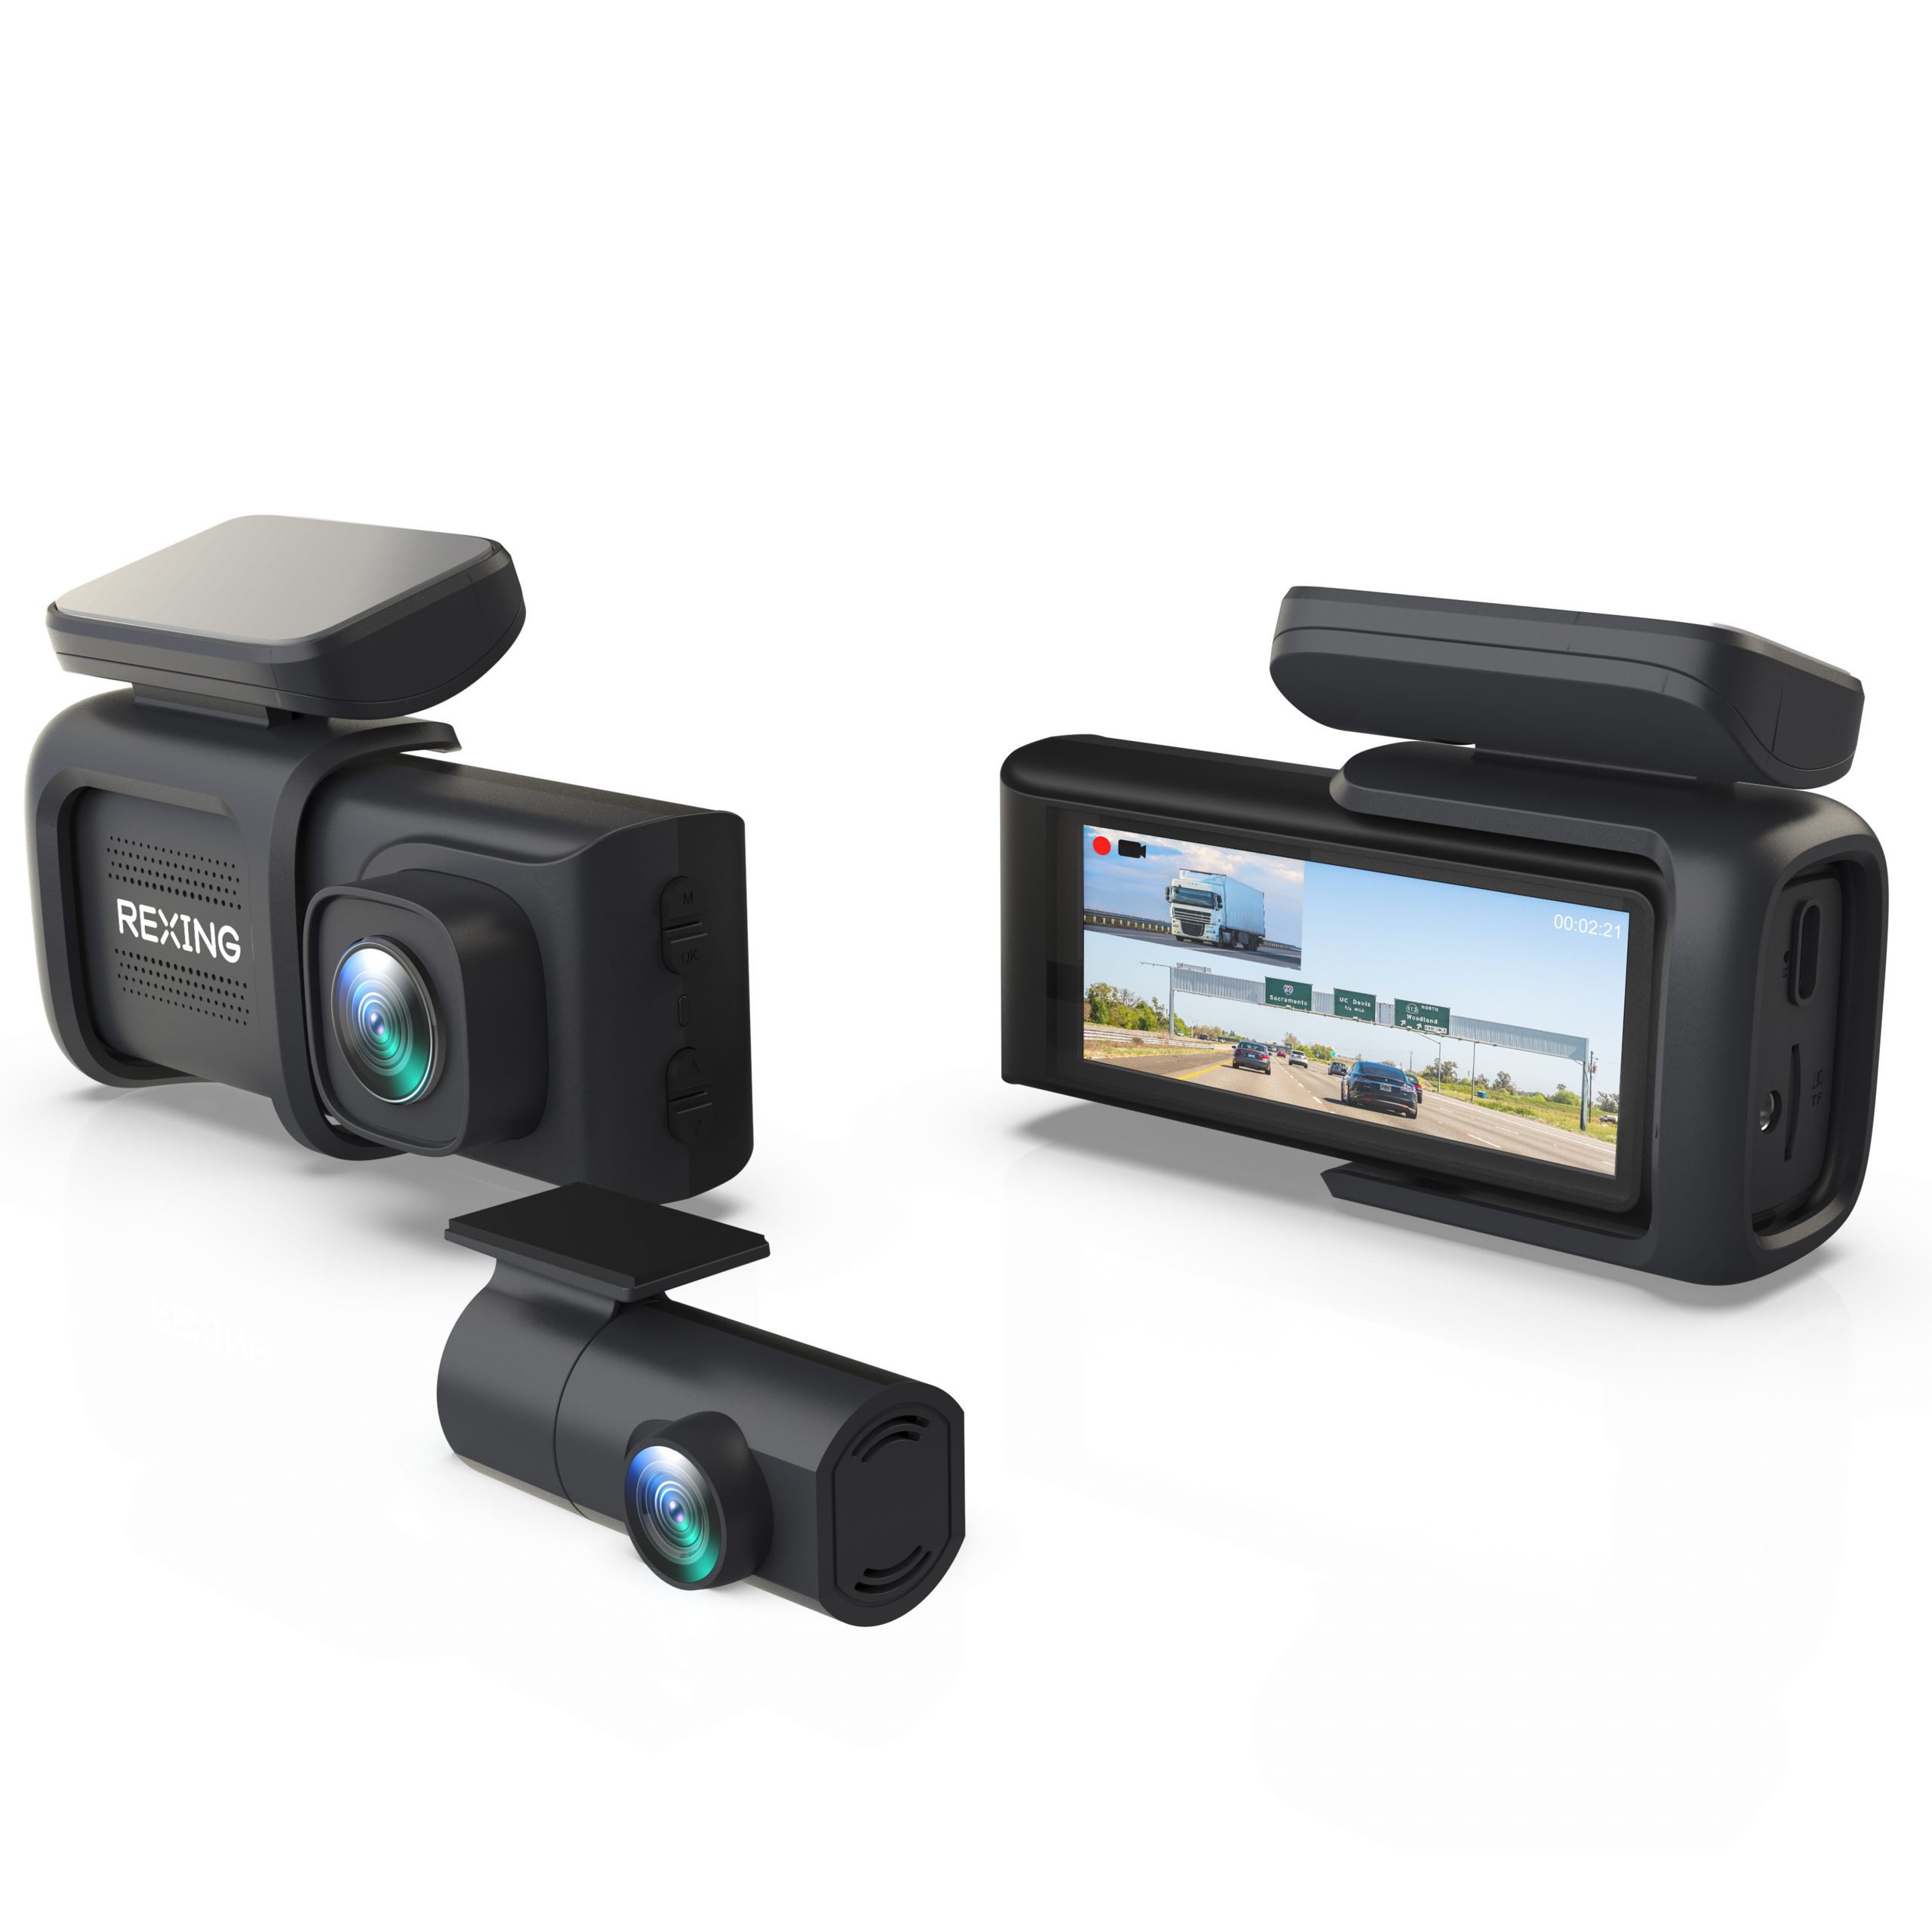
Two STARVIS sensors in one The A229 Plus is the first dashcam with two Sony STARVIS 2 IMX675 image sensors on both the front and rear sides. Compared to STARVIS, this cutting-edge technology offers 2.5 times the dynamic range and 2.5 times the light sensitivity.

Rexing V1 Basic 1080p Dash Cam

Rexing V1 Basic 1080p Dash Cam:

SUPER NIGHT VISION AND PARKING MONITOR: The F1.8 big aperture, WDR, and HDR settings work together to make sure that photos are clear at night. makes it simple to capture crisp, color-accurate photographs without the need for an additional light source, even in dimly lit areas.

Dash Cam Front Rear: 4K+1080P Full HD Dashcam Free 64GB Card

Dash Cam Front Rear: 4K+1080P Full HD Dashcam Free 64GB Card:

4K+1080P Dual Recording: The COOLCRAZY N8 dashcam front and rear cameras offer a dual camera that can capture UHD 4K + 1080P movies.

Rexing V1 MAX 4K Dash Cam with Wi-Fi and GPS

Rexing V1-4K Ultra HD Car Dash Cam with Wi-Fi:

REAL UHD 4K SINGLE CHANNEL RECORDING: Using WIDE DYNAMIC, a front single camera captures REAL 4K video. Through careful exposure adjustment with the F/1.6 6 glass lens, RANGE enables dash cam to function well in low light conditions. The camera's 170 DEGREE ULTRA WIDE ANGLE LENSES open out to provide users sweeping vistas of their surroundings.

PRUVEEO 360 Degree View 4 Channel Dash Cam Front and Rear Inside Left Right

PRUVEEO 360 Degree View 4 Channel Dash Cam Front and Rear Inside Left Right, Dash Camera for Cars:

[Front Rear Left and Right 4-Channel Dash Cam] All four of the lenses on the 4-Channel Dash Cam can simultaneously record FHD 1080P footage. It may concurrently record the vehicle's left, right, rear, and front sides.

4K Dash Cam Front and Rear, 170° Ultra Wide Dashcam with ADAS

4K Dash Cam Front and Rear, 170° Ultra Wide Dashcam with ADAS:

[Sony Technology Offers True 4K Quality] Enjoy unparalleled detail with the front camera's real 4K resolution and the back camera's sharp 1080P. The rear camera's image quality is nearly 2K thanks to the BOTSLAB algorithm optimization.

Rexing V1-4K Ultra HD Car Dash Cam w/ Built-in GPS Logger, Wi-Fi

Rexing V1-4K Ultra HD Car Dash Cam w/ Built-in GPS Logger, Wi-Fi, and CPL Filter Included:

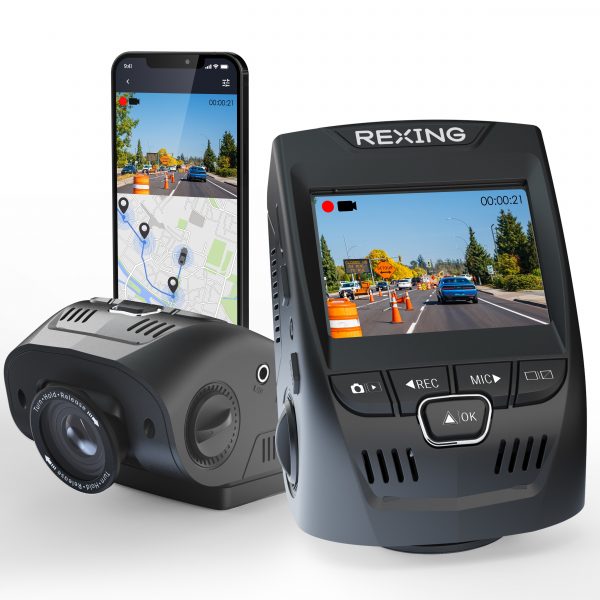
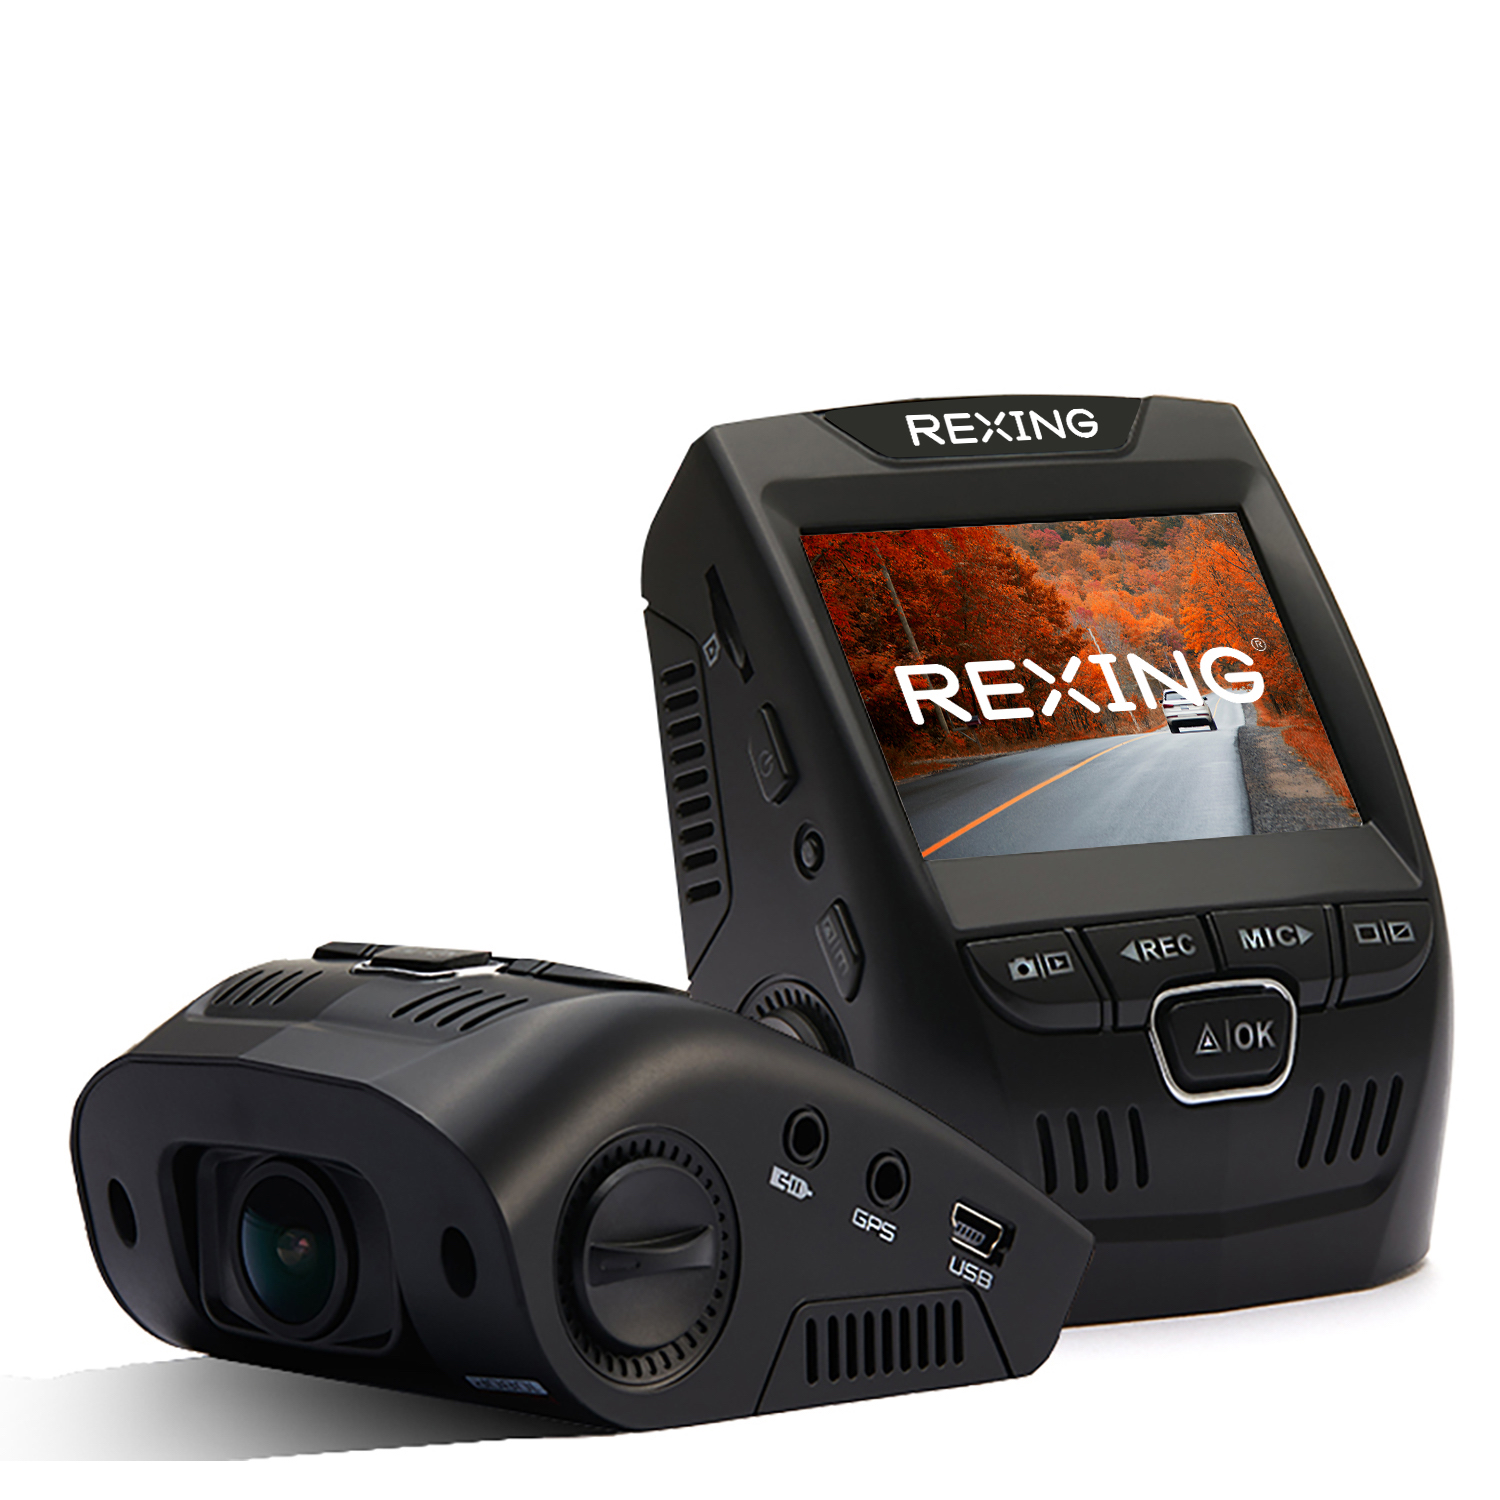
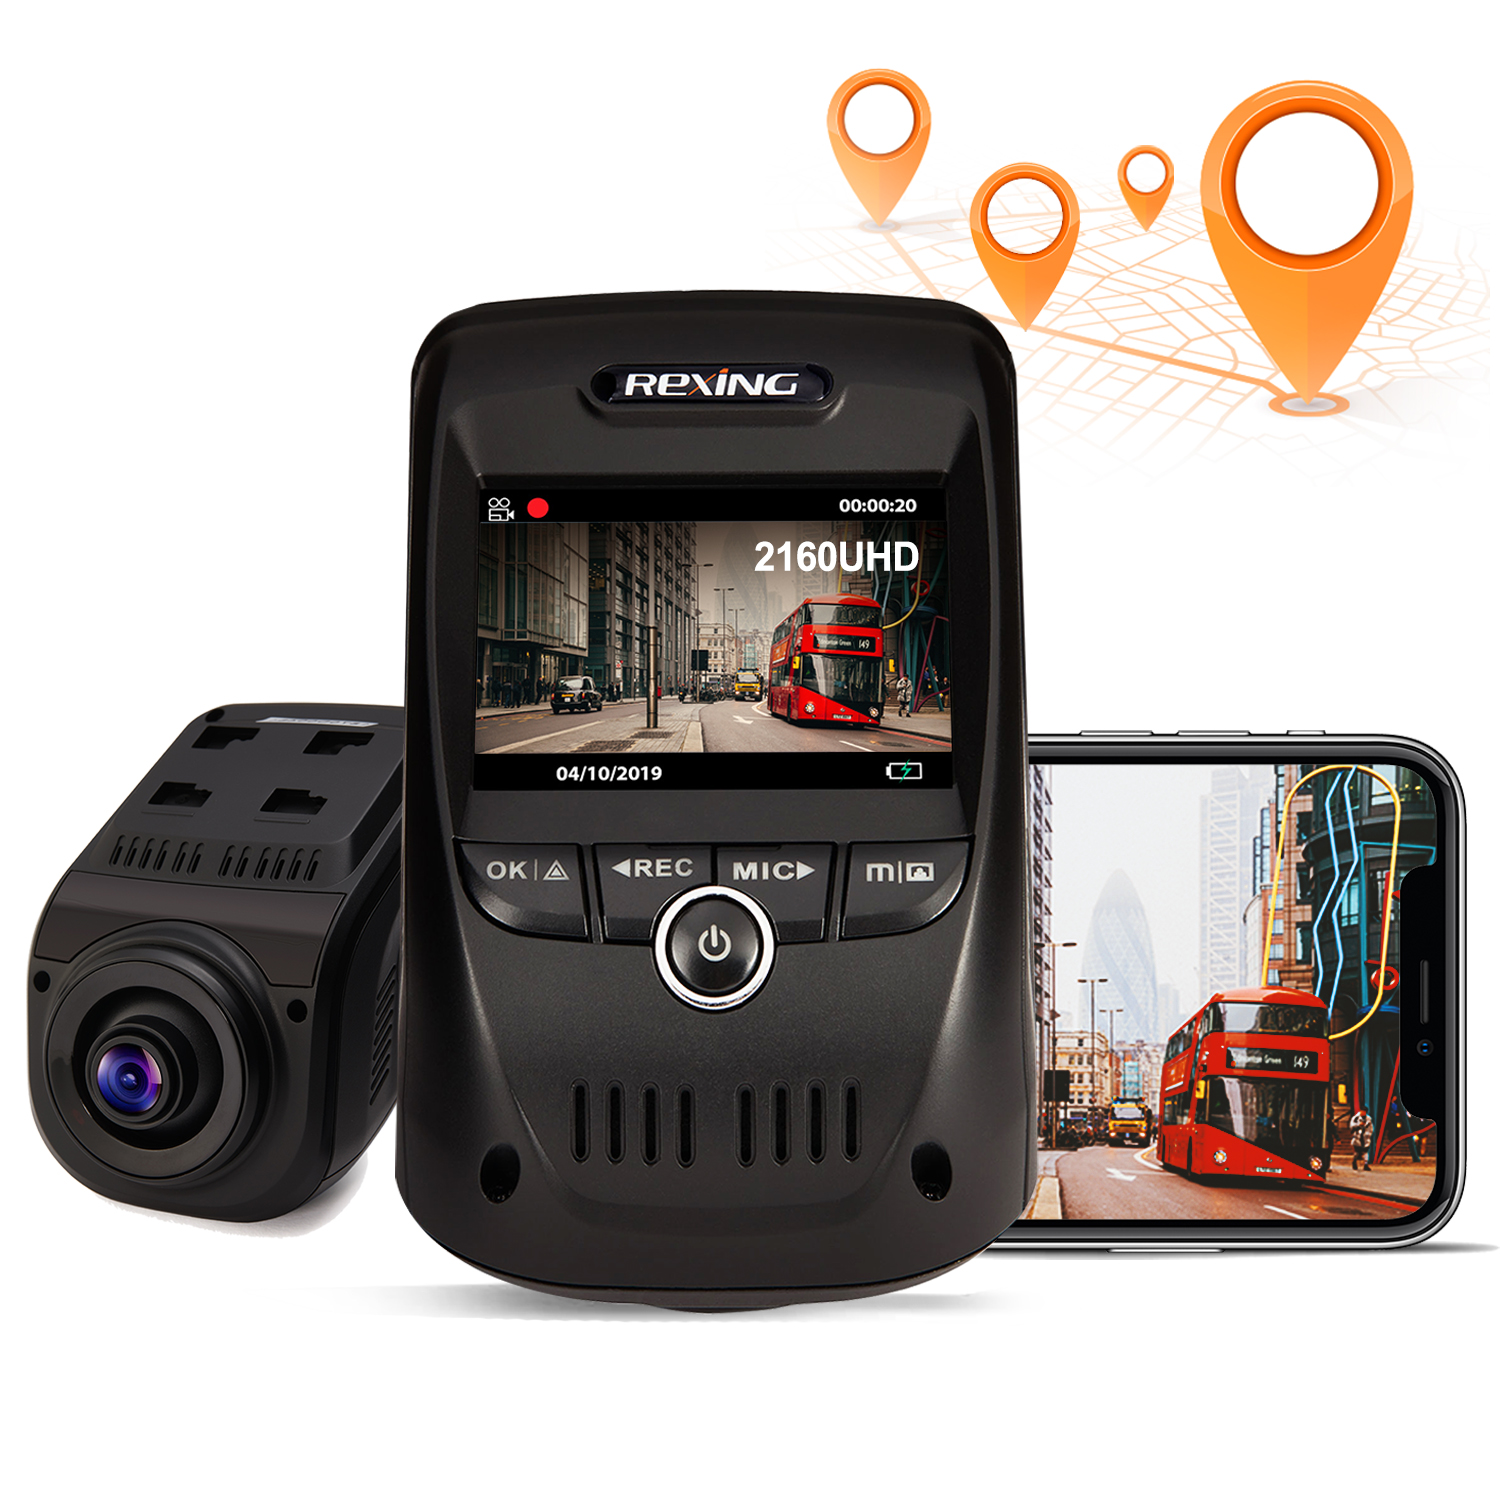
ADDED VALUE: Integrated GPS Take advantage of our best-rated dashcam, which has a built-in GPS logger that lets you see your car's location, speed, and time while you're driving. To see your precise location, just download our GPS logger software to your computer or connect to the Rexing Connect App.

Benefits of Using Front and Rear Dash Cams:

Installing both front and rear dash cams equips your vehicle with an extra set of eyes, capturing comprehensive footage from all angles. These recordings serve as crucial evidence in legal proceedings or insurance claims, potentially deterring reckless driving and criminal activities. With a dash cam, you gain peace of mind, knowing that any incident is documented. Additionally, dashcams can lower insurance premiums and reduce repair costs over time, making them a wise investment.

solo dash cam

Choosing the Right Dash Cam for Your Vehicle

Before investing in a dash cam system, it’s important to ensure compatibility with your vehicle. Dash cam models vary, and their compatibility depends on your car’s make and model. Check the manufacturer’s website for compatibility lists and evaluate power connection options. Adequate space is essential for mounting both front and rear cameras without obstructing the driver’s view. Consider features like resolution, field of view, and storage capacity to select the right dash cam for your needs.

Our Top Picks on Dual Channel

Fitcamx Front 2160P+Rear 1080P Dash Cam Adatps for Toyota bZ4X 2023-2025 XLE Limited Nightshade

Fitcamx Front 2160P+Rear 1080P Dash Cam:

Compatible with the Toyota bZ4X 2023–2025: The Fitcamx 4K dual dash camera is in complete OEM fashion! No cables are visible, no splicing is required, and no new connections or cables need to be routed.

Rexing DT2 Dual Channel 1080p Front and Rear Dash Cam

Rexing DT2 Dual Channel 1080p Front and Rear Dash Cam (Open Box):

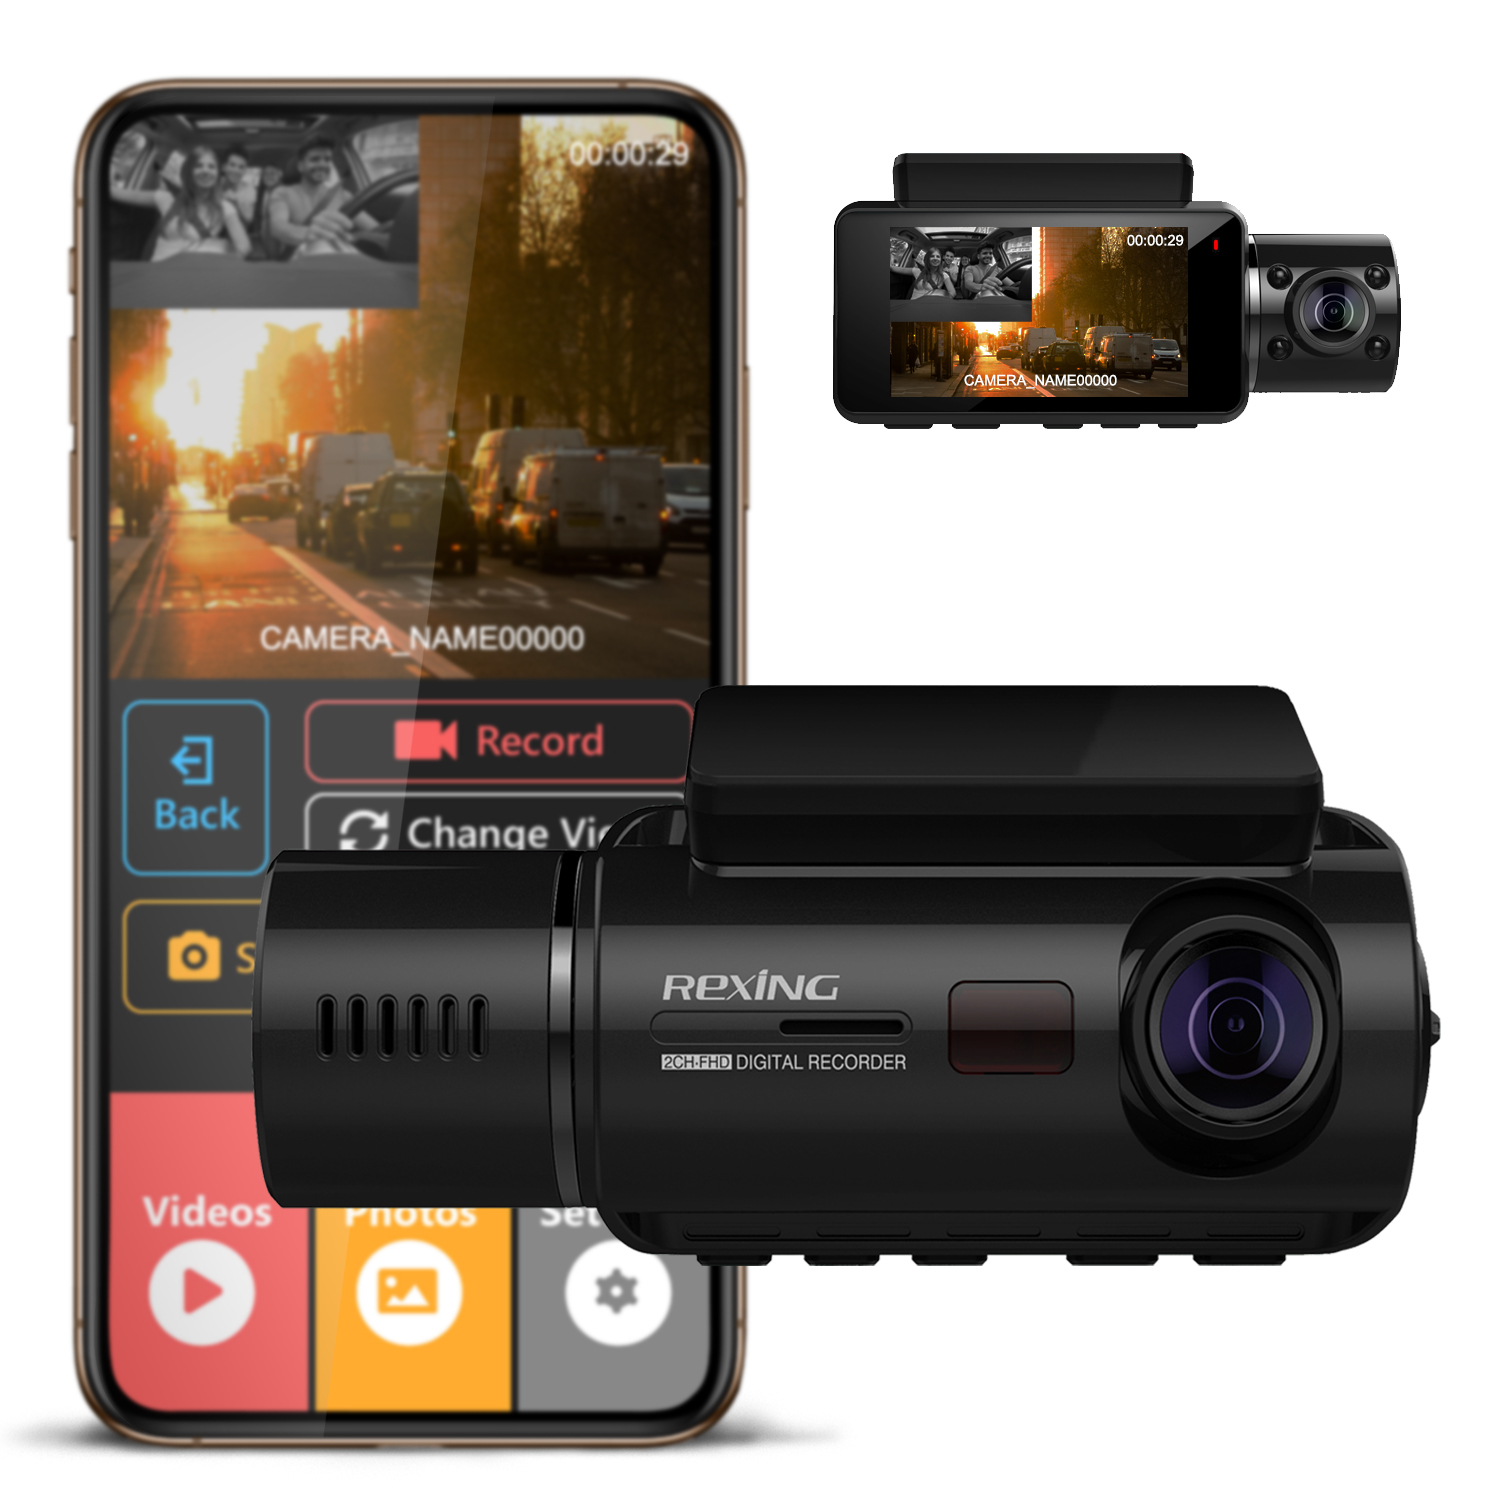
Dual-Channel Front and Rear Recording: With front and rear recording features, you may record your drive from a variety of perspectives. The front camera captures at 30 frames per second in Full HD 1080p.

T550 Dash Cam with GPS, 4K 1080P, Night Vision

T550 Dash Cam with GPS, 4K 1080P, Night Vision:

Our 4K dash cams, which include crystal-clear 4K front + 1080p rear video for exceptional image quality, allow you to capture every detail. Perfect for people looking for a complete dash cam front and rear solution.

Dash Cam Front and Rear - Sarmert 2025 Upgraded 4K/1080P Dash Camera for Cars

Dash Cam Front and Rear - Sarmert 2025 Upgraded 4K/1080P Dash Camera for Cars:

UPGRADED REAL 4K RECORDING: Street signs, license plates, and other road information are clearly captured by the FHD 1080P rear and UHD 3840*2160P front cameras. With a 170° field of view that covers more than three lanes, the 2 Channel Dash cam ultra-wide-angle lens minimizes shooting blind zones and captures more details.

Rexing V360 Dual Channel Dashboard Camera Recorder Car Dash Cam

Rexing V360 Dual Channel Dashboard Camera Recorder Car Dash Cam with Rear Camera:

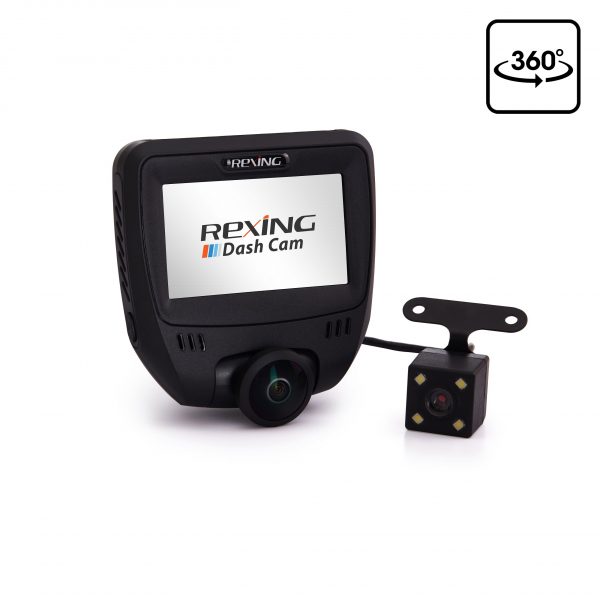
360 DEGREE PANORAMIC see DESIGN: The 360° Panoramic see design allows for no-dead angle surveillance of the entire vehicle environment, making it simple to see side collisions and car disputes.

OMBAR T1 4K 3 Channel Dash Cam

OMBAR T1 4K 3 Channel Dash Cam, STARVIS 2 IMX678 Sensors:

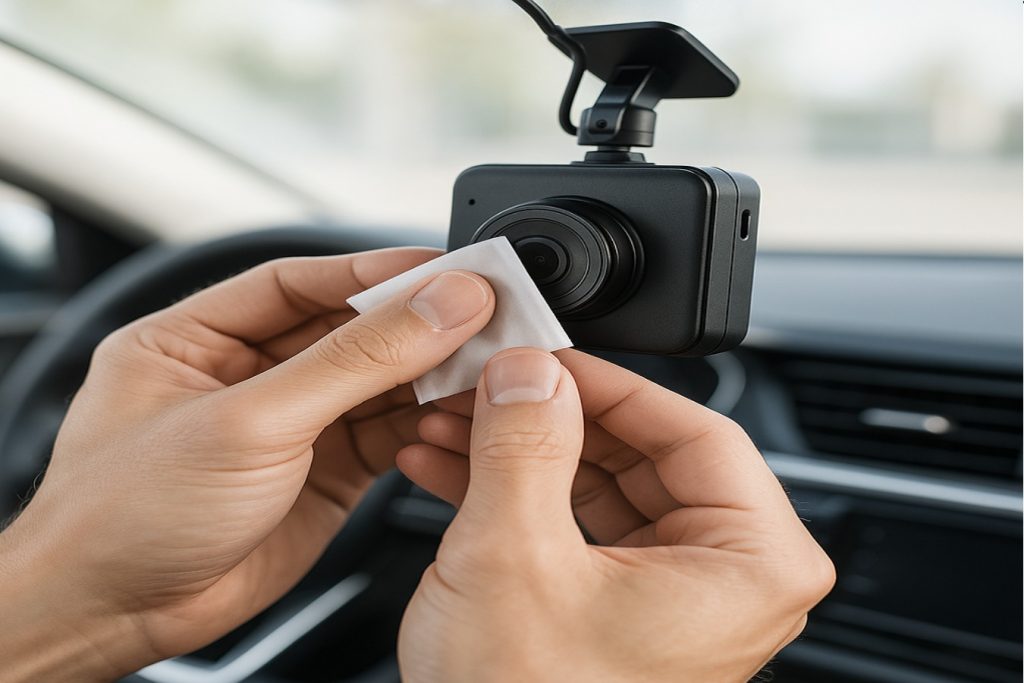
Wiring Recommendations Always use the original car charger and power cable that came with your dash cam to make sure it powers on and runs steadily. Avoid using third-party phone cords or chargers since they may result in voltage problems that impair the camera's ability to operate properly.

Dash Cam Front and Rear: 4K Dual Channel Dash Cam

Dash Cam Front and Rear: 4K Dual Channel Dash Cam:

Dual Recording Dash Cam (Front and Rear): The WANLIPO A13 front and rear dash cams record crisp, high-definition video in Full HD 1080P for the back and Ultra HD 4K (3840*2160P) for the front.

Rexing V3C Dual Camera Front and Inside Cabin Full HD

Rexing V3C Dual Camera Front and Inside Cabin Full HD 1080p Dash Cam with WiFi (Open Box):

Full HD dual channel recording: 1080p footage at 30 frames per second is captured by both the front and cabin (inside-facing) cameras. Both cameras' 170 DEGREE ULTRA WIDE ANGLE LENSES open to record expansive views of their environment.

Rexing M1 HD Dual Channel Rear View Mirror Dash Cam

Rexing M1 HD Dual Channel Rear View Mirror Dash Cam 1296p + 720p:

1080p FULL HD & DUAL CHANNEL RECORDING: For maximum clarity, record 1296p HD video with the front camera and 720p HD with the rear camera. Connect the HD REAR CAMERA to the front camera to record from two different angles.

Fitcamx Front 4K+Rear 1080P Dash Cam

Fitcamx Front 4K+Rear 1080P Dash Cam:

HD2-6386 for Range Rover 2023–2025: With no cables hanging and no obstructions to the windshield, the Fitcamx dash cam appears to have been installed by the factory.
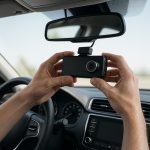
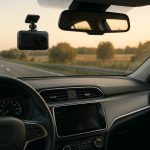
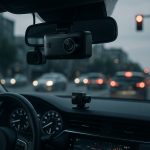
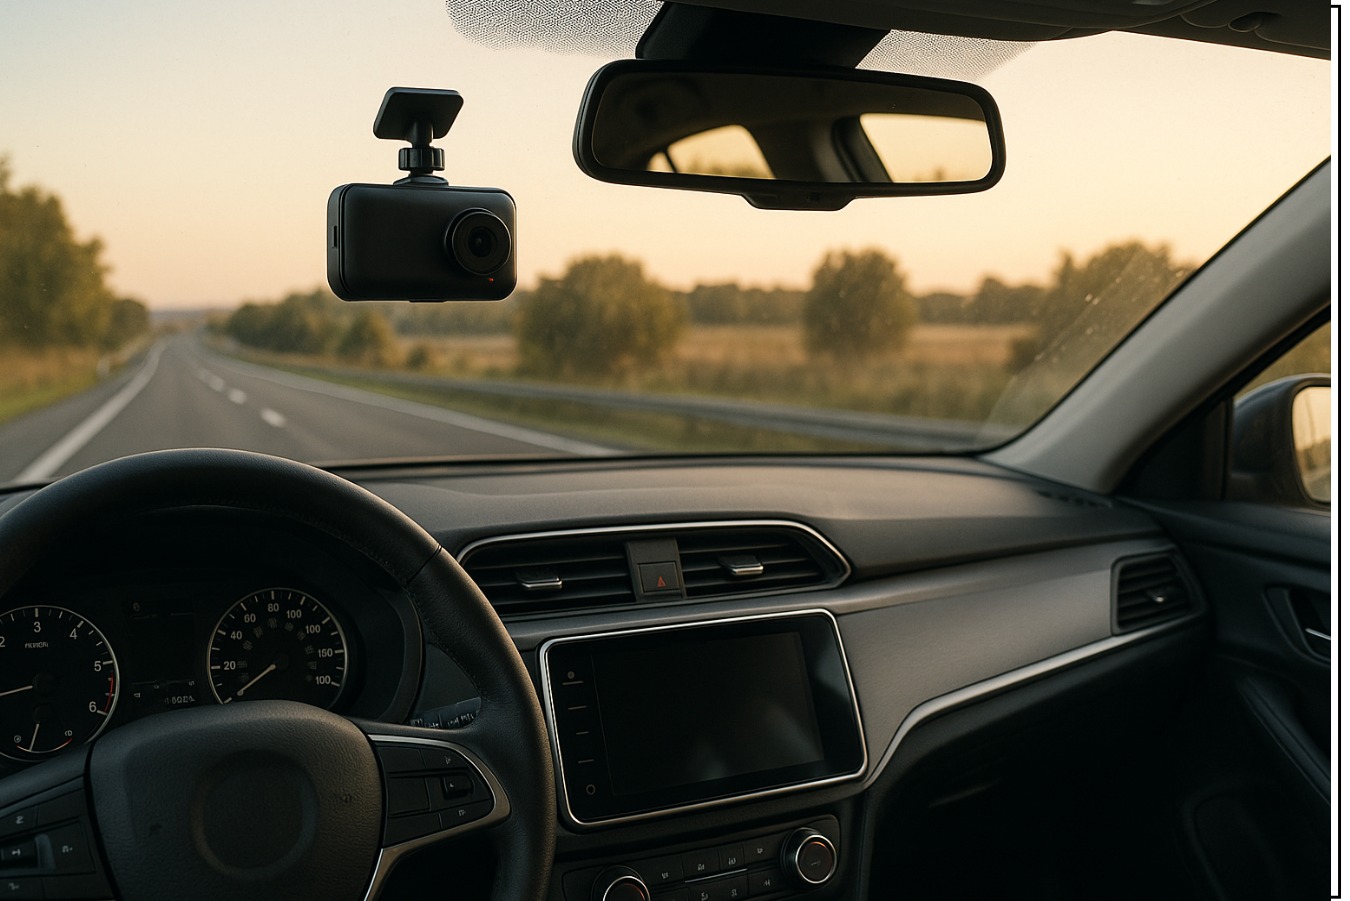
Preparing for Dash Cam Installation

Essential Tools and Materials

To streamline the dash cam installation process, gather all necessary tools and components beforehand. Having these items ready will simplify the installation and minimize interruptions.

Tools

Parts

Screwdriver

Dash cam

Trim removal tools

Mounting brackets or adhesive pads

Possibly a hot screwdriver for wiring

Power cables


Velcro fasteners for cable management

Safety Precautions: Airbags and Wiring

When connecting your dash cam to your vehicle’s electrical system, using a hardwire kit is advisable for a secure setup. A hardwiring kit ensures a stable connection, preventing battery drainage and short circuits. If you’re uncomfortable with hardwiring your dash cams, seeking assistance from a professional installer is recommended to ensure safety and functionality.

Understanding Your Vehicle's Power Supply

Choosing the right power source is critical for an efficient dash cam setup. Most dash cams require a constant power supply, with some needing hardwiring into the vehicle’s electrical system. Common power sources include a USB outlet or a 12V cigarette socket, typically found on the center console or near the driver and passenger sides. Ensure these outlets deactivate when the vehicle is off to prevent battery drainage and overcharging.

Installing Your Dash Cam

Step-by-Step Guide to Installing a Front Dash Cam

dash cam2

Begin your dash cam installation by selecting an area on your front windshield that ensures a secure and stable fit. It’s crucial to position your front dash cam as centrally as possible to maximize coverage on both the left and right sides of the vehicle. Typically, placing the dash cam behind the rear-view mirror achieves this objective while ensuring it does not obstruct the driver’s view or interfere with any car functions. Before proceeding, verify local state laws regarding dash cam placement. Follow these steps to complete the installation:

  1. Route the power cable inside the top headliner towards the power source, either to the left or right. Gently pry open the A-Pillar covering using a trim tool and tuck the cable into the crevice.
  2. Continue routing down the A-Pillar and hide the cable inside the rubber weather strip. Finally, navigate the cable through the underside of the dashboard and plug it into the power source to complete the installation.

Installing the Rear Dash Cam: Tips and Tricks

For rear dash cam installation, apply the same principles used for the front dash cam. Depending on your vehicle’s size, a longer cable might be necessary. Place the rear camera at the top center of the rear windshield to optimize its field of view. Here is a step-by-step guide to routing the rear camera cable:

  1. Guide the rear camera cable inside the headliner of the rear windshield, proceeding down the pillars within the rubber weather strip until reaching the A-pillar.
  2. Continue through the front windshield’s headliner until it connects with the front dash cam. Ensure the cable is neatly tucked away to preserve the vehicle’s aesthetic and protect the wiring.

To prevent cable overlap, route the rear camera cable in the opposite direction of the front camera cable. Start routing from the A-Pillar, progress through the car’s frame, and emerge at the B-Pillar, then guide the cable from the B-Pillar to the C-Pillar, and finally to the vehicle’s rear.

Hardwire Installation vs. Plug-in Options

Hardwiring your dash cam to the vehicle’s fusebox offers a reliable power source, allowing your dash cam to record even when the vehicle is off, thus enabling parking mode for dash cams equipped with this feature. Hardwiring kits have gained popularity among drivers seeking continuous front and rear camera protection. These kits tap into the vehicle’s electrical system, ensuring the dash cam can capture important footage to the memory card even when the vehicle is not running. In contrast, plug-in options utilize power from the vehicle’s 12V cigarette socket or USB outlet, which may deactivate when the vehicle is off, limiting functionality. Carefully consider your needs and choose the most suitable installation method for your dash cam system.

Testing and Finalizing Your Dash Cam Setup

Testing the Front and Rear Dash Cam Functionality

After installing your dash cam, configure the settings such as resolution, time and date, and recording times, including parking mode if available. During the test drive, assess the clarity of the footage from both cameras, ensuring stability and an unobstructed view of the road and surroundings. Additionally, verify the responsiveness of the dash cam to start and stop recording as required. Post-test drive, review the footage to confirm that the cameras have captured clear and stable video.


Securing Cables and Ensuring a Clean Installation

In the final stage of your dash cam installation, focus on routing the cables within the vehicle’s frame to keep them hidden. Utilize the vehicle’s structure to effectively create a cable-free appearance. Velcro fasteners are excellent for bundling and securing excess cable lengths to the car’s frame or interior panels, ensuring a neat and tidy installation. This not only enhances the car’s aesthetics but also protects the cables from damage.

Regular Maintenance and Updates for Your Dash Cam System

Regular maintenance is crucial for keeping your dash cam system in optimal condition. Check the mounting hardware and cables every month or two to ensure they remain secure. Clean the camera lens with lens wipes and a soft cloth monthly to maintain video clarity. Regularly back up video files for safekeeping. If your dash cam includes GPS, update its software periodically to ensure accurate tracking information and location data.

Your Questions, Answered

What tools do I need to install a dash cam?

To install a dash cam, you typically need a flathead screwdriver, a Phillips screwdriver, an adhesive mount (if not included), and possibly wire management tools like zip ties or clips.

While many individuals can successfully install a dash cam themselves using our guide, those who are uncomfortable with wiring or installation may prefer to hire a professional for assistance.

The optimal placement for a dash cam is usually behind the rearview mirror, ensuring it has an unobstructed view of the road while minimizing distractions to the driver.

In most cases, installing a dash cam will not void your vehicle’s warranty. However, it is advisable to check with your vehicle manufacturer for any specific guidelines regarding aftermarket accessories.

Most dash cams can be powered through the vehicle’s 12V power outlet using the supplied cable. Some models may also support hardwiring directly to the vehicle’s fuse box for a more permanent installation.

Recent Post

Sign up for Newsletter

Categories

Share

Related Post

how to care for orchid plants

How to care for orchid plants indoors

Introduction Orchid plants are some of the most wonderful and mysterious plants on earth. With proper care—especially choosing the right

air fryer chicken

Best air fryer recipes for chicken

Introduction Air fryer recipes for chicken have taken the internet by storm, and for good reason! Using an air fryer

Leave a Reply

Your email address will not be published. Required fields are marked *